Guru Collections
A Collection is a top-level container in Guru that organizes Cards, Boards, and Folders by team or topic, with customizable access and structure.
Access RequiredYou must be a Guru workspace Admin, Creator, or a relevant custom role to create a Collection. After a Collection is created, the Collection Owner (and any relevant custom roles) can also manage access.
Creating a Collection
You can create a Collection from either the All Collections page or the Manage > Collections section in Guru's web app.
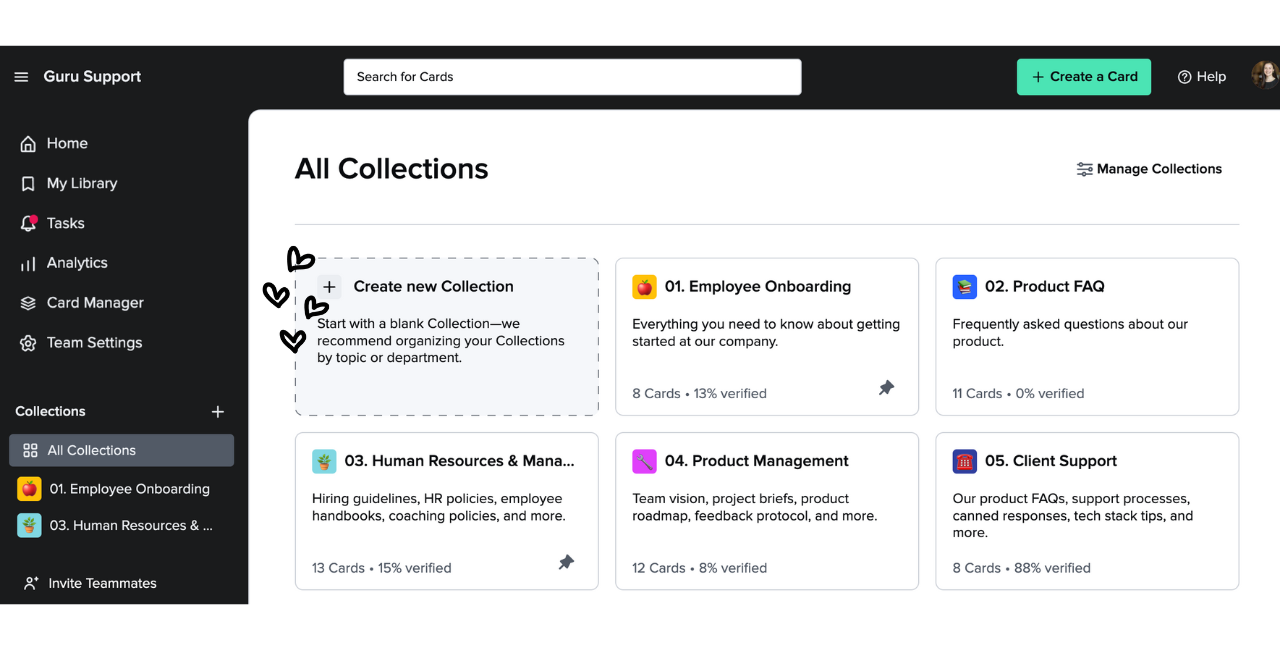
Creating from All Collections
- Select the Collections tab in the left navigation.
- Click the + Create new Collection tile at the top left center of the page.
- Fill in the fields in the pop-up menu to start a Collection from scratch.
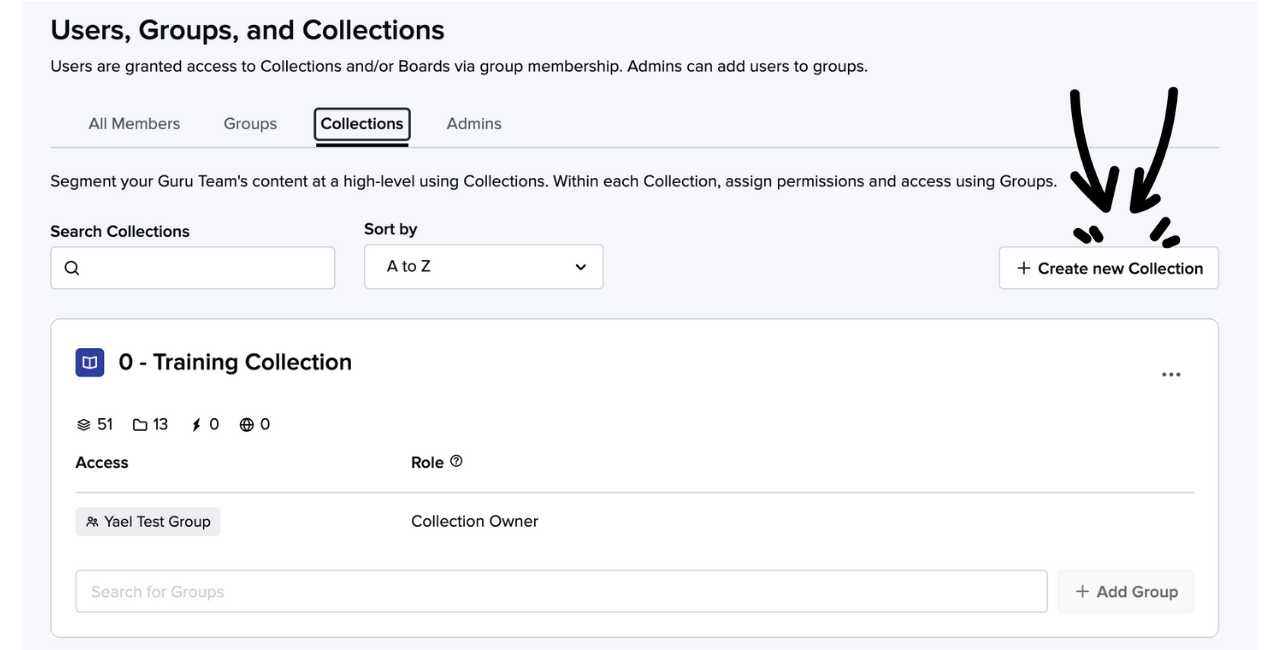
Creating from Manage > Collections
- Navigate to Manage > Collections.
- Click + Create a new Collection.
- Choose one of the following options:
- Start from scratch with a blank Collection.
- Start with a pre-populated framework that includes folders and Card suggestions to help structure your team's knowledge.
Collection frameworks help you get up and running quickly with pre-built content structures.
NoteIf you import a Collection using a framework or during Guru team creation, you will be automatically assigned as the Collection Owner. This can be changed later.
Adding Collection details
When creating a Collection from scratch:
- Complete the following fields in the Create new Collection menu:
- Name the Collection.
- Customize the badge color and emoji (optional). Guru assigns a random color and a book emoji by default.
- Add a description to help teammates understand the Collection's purpose.
- Assign a Group or User to be the Collection Owner.
- Click Create Collection.
You can edit all of these settings later by clicking the ⋮ icon for the Collection and selecting Collection Settings.
Editing a Collection
- From the All Collections page, click Manage Collections. Alternatively, navigate to Manage > Collections.
- Locate the Collection you want to update.
- Click the ⋮ icon, then select Collection Settings.
- You can edit the following:
- Collection name
- Badge color and emoji
- Description
- Click Save.
Setting File Access Control
At the collection level, Admins and Owners can control whether files uploaded to Cards in that Collection can be shared outside of Guru via public links. This setting is separate from individual Card-level file sharing permissions.
When public file sharing is enabled for a Collection, Card authors can choose to allow files on their Cards to be accessible by anyone with the file link. When disabled, all files in Cards within that Collection remain accessible only to Guru teammates with appropriate permissions.
Deleting a Collection
ImportantDeleting a Collection will permanently remove all its contents, including archived Cards. This action cannot be undone.
- From the All Collections page, click Manage Collections. Or go to Manage > Collections.
- Find the Collection you want to delete.
- Click the ⋮ icon and select Collection Settings.
- Click Delete Collection.
- Check the box to confirm you understand the permanent deletion.
- Click Delete.
Pinning Collections
Pinning gives users fast access to their most-used Collections directly from the Home tab and the top of the Collections panel.
Admins — pin a Collection for the whole team (Team Essentials)
- Go to Manage → Team Essentials.
- Click Add a resource and search for the Collection you want to pin.
- Select the Collection. It appears in the Team Essentials table.
- Drag rows to reorder them — the order here is the order users see.
Each pinned Collection uses its own existing permissions. If a user doesn't have access to the Collection, it won't appear for them.
Users — pin a Collection for yourself (My Pins)
- Open the action menu (⋮) next to any Collection.
- Select Pin.
The Collection appears in your My Pins section on the Home tab and at the top of the Collections panel. To remove it, open the action menu again and select Unpin, or click the unpin icon in My Pins and confirm.
Want a closer look at some key Guru features and best practices?Check out our events page for demos, workshops, new release roundups, Getting Started bootcamp, guest panelists and more! For upcoming live events and a series of past recordings: Click here to register
Updated about 2 months ago